Hard shell jackets are the ultimate guardians against harsh weather, and their exceptional waterproof and windproof performance stems from a series of sophisticated manufacturing processes. Let's take a deep dive into the 7 core waterproofing processes that transform yarn into a high-performance hard shell jacket, accompanied by factory real images and detailed process parameters.
1. High-Density Nylon Weaving: The Foundation of Wind Resistance
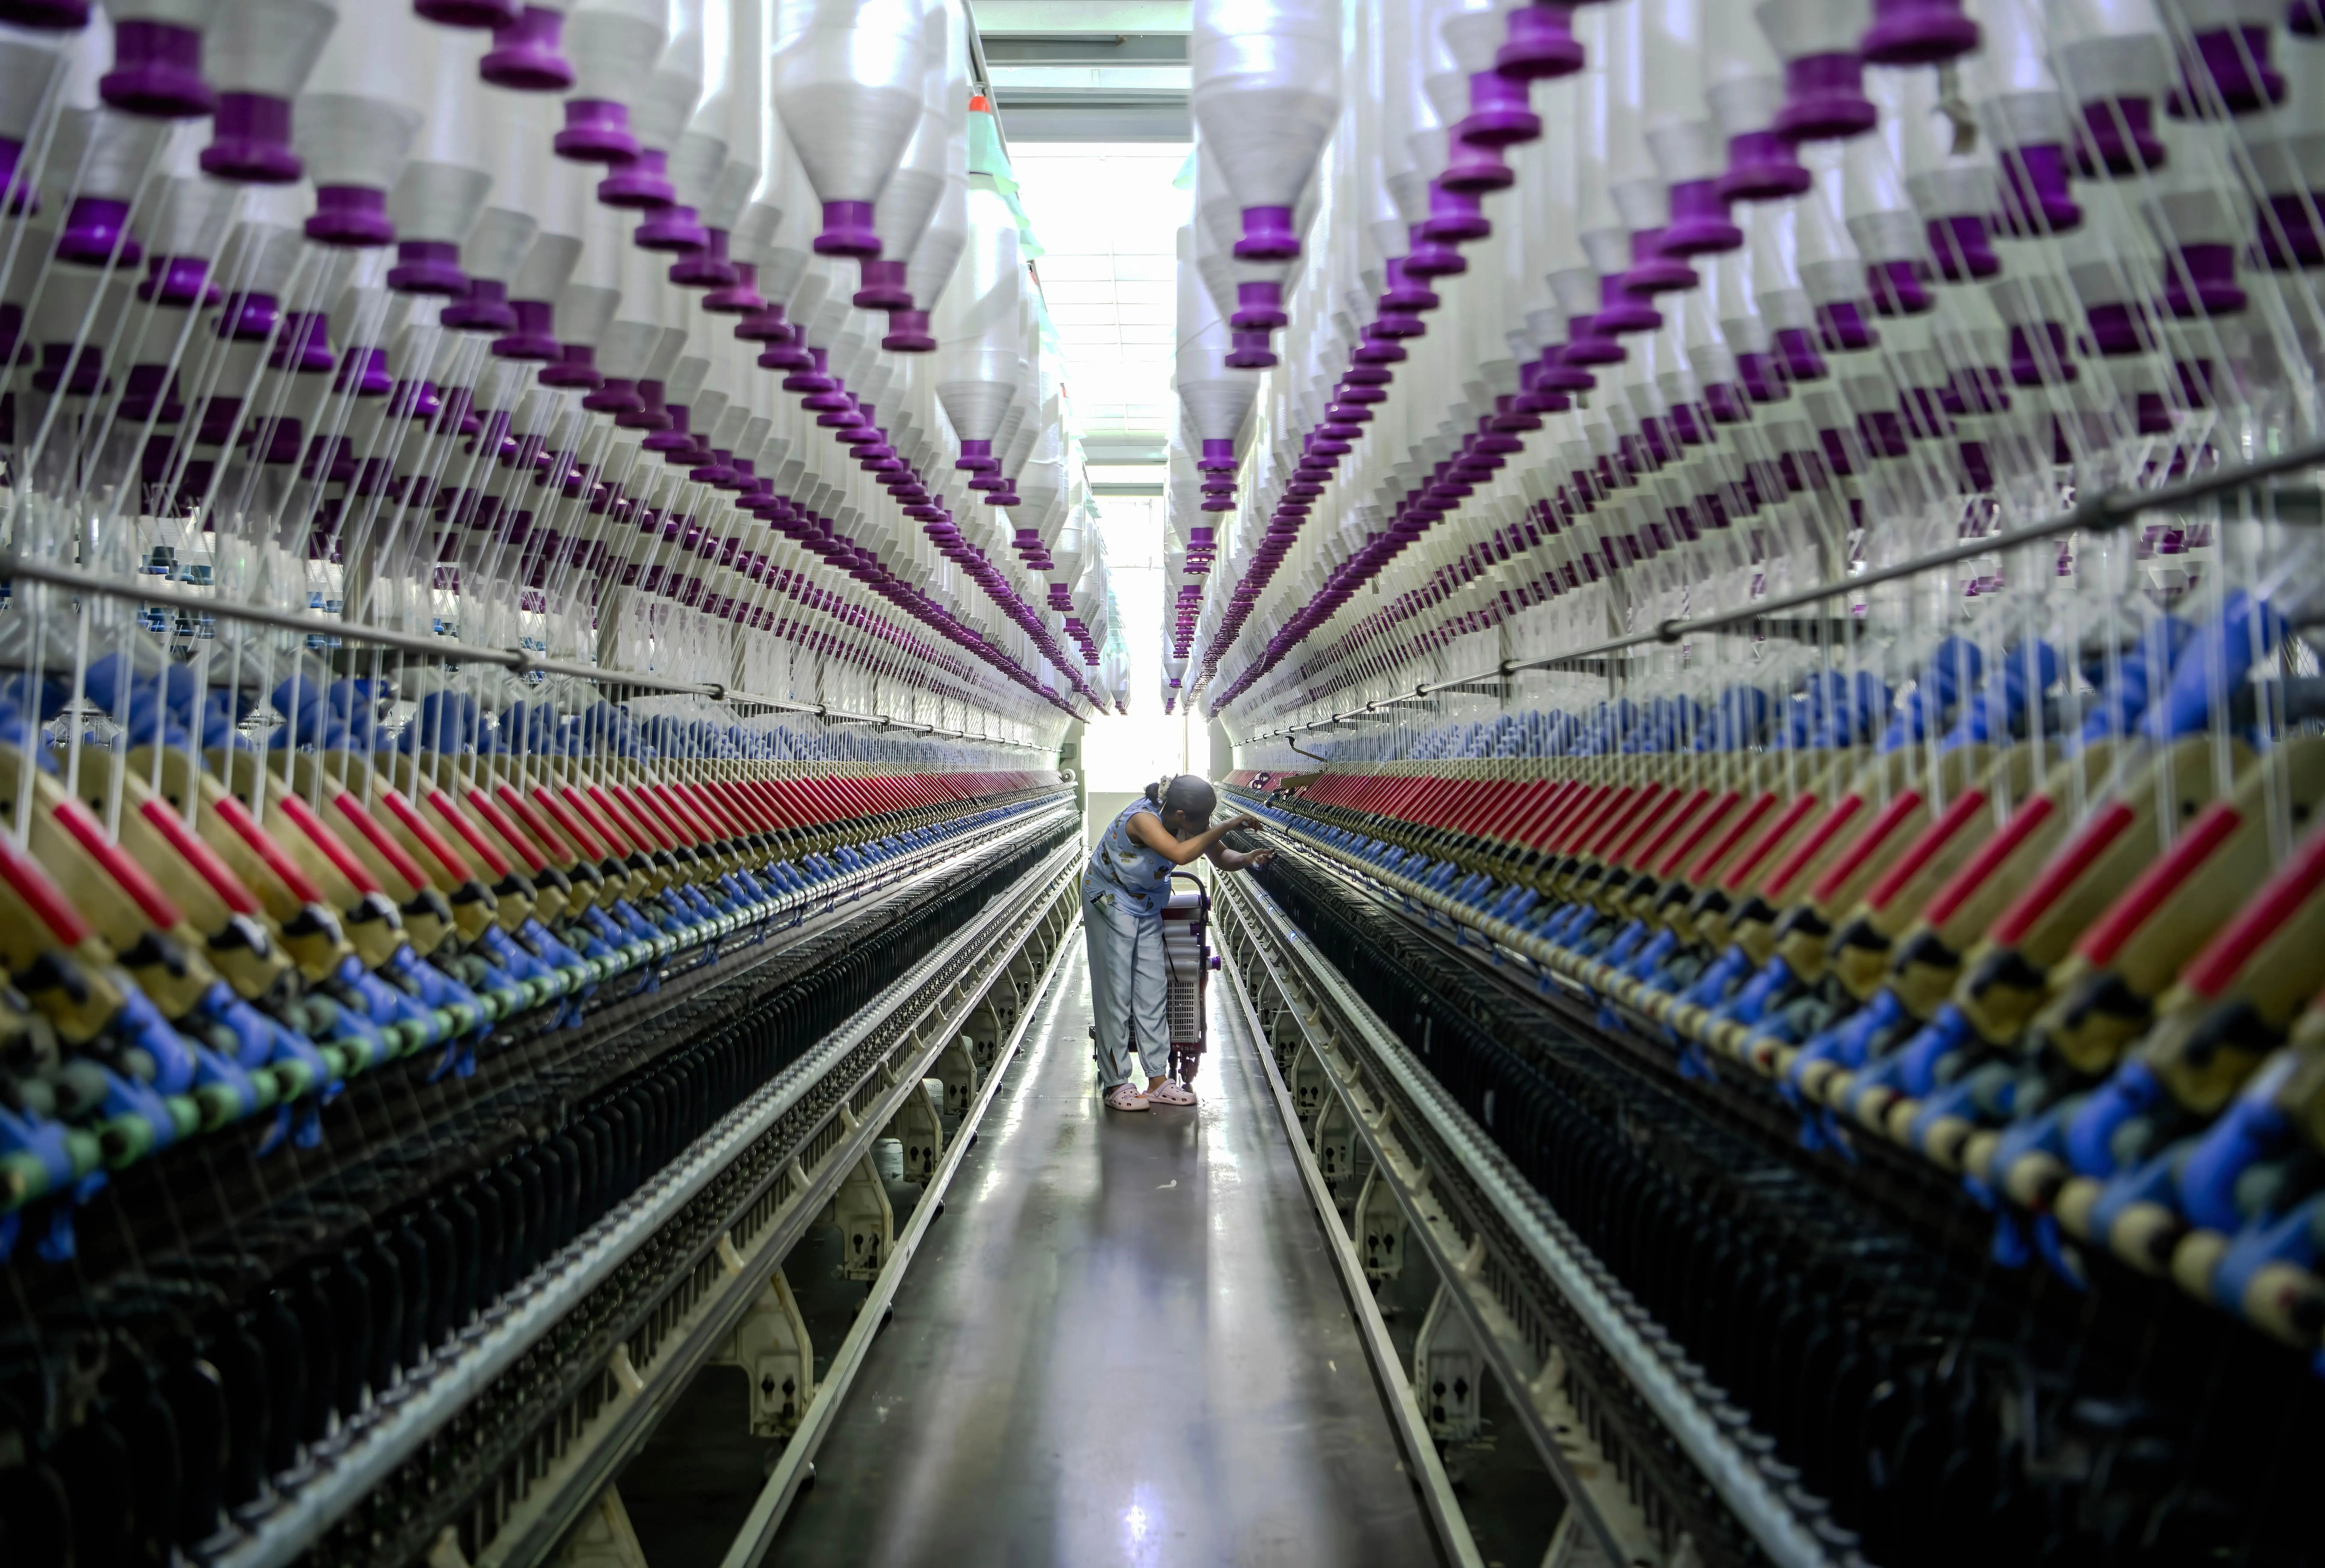
The first step in creating a hard shell jacket begins with the weaving of high-density nylon fabric, which lays the groundwork for its windproof capability. High-density nylon is crafted through a tight weaving technique that minimizes the gaps between fibers. This tight structure acts as a physical barrier, preventing air from passing through easily.
In the factory workshop real image,we can see the large weaving machines in operation. The warp and weft threads of nylon are interlaced at a high density, with a typical thread count ranging from 300 to 500 threads per inch. This high thread count ensures that even the smallest air molecules struggle to penetrate the fabric, thus achieving excellent wind resistance.
2. Membrane Lamination: Bonding for Waterproofness
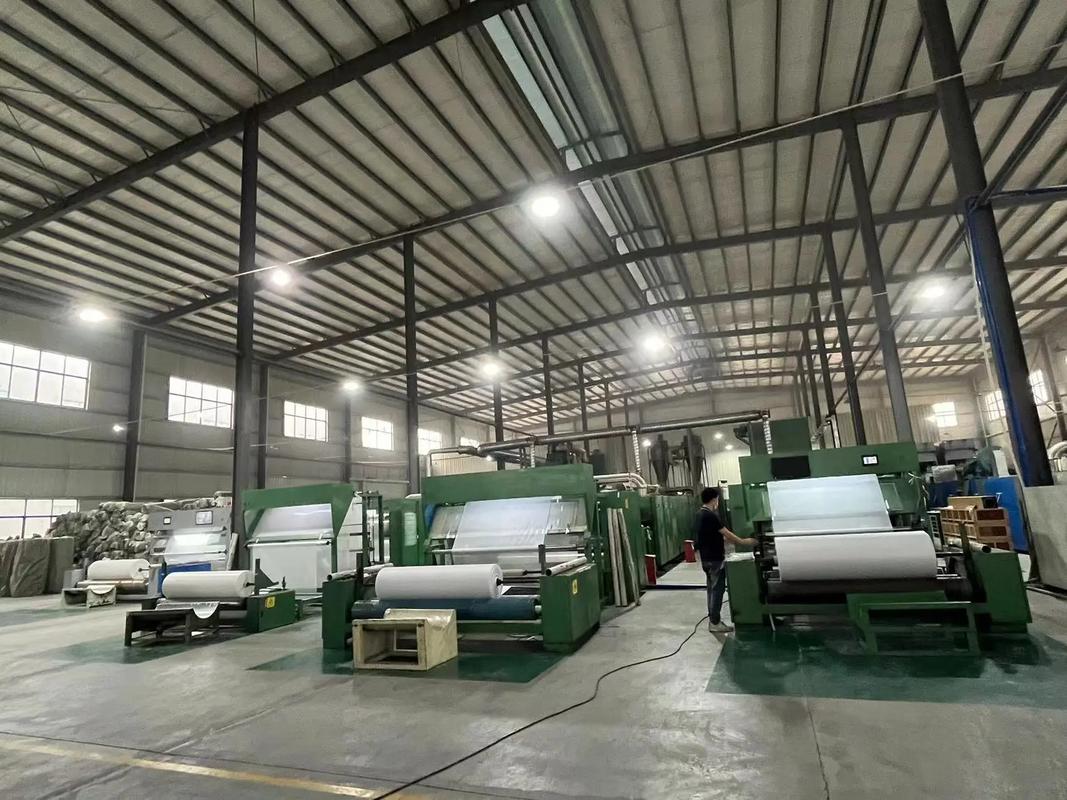
After the fabric is woven, the next crucial process is membrane lamination. This step involves bonding a waterproof membrane to the nylon fabric, and there are two common types: 3-layer and 2.5-layer membranes.
The 3-layer membrane consists of a outer fabric, a waterproof membrane, and a inner lining, providing superior durability and protection. The 2.5-layer membrane, on the other hand, has a thinner inner coating instead of a full lining, making the jacket lighter.
Temperature control is vital during the lamination process. For 3-layer membranes, the optimal temperature is between 130°C and 150°C, while for 2.5-layer membranes, it ranges from 110°C to 130°C. Maintaining the correct temperature ensures a strong bond between the fabric and the membrane without damaging either.
The factory image also shows the lamination equipment, with precise temperature controls and conveyor belts that move the fabric through the process at a steady speed. Additionally, the humidity in the lamination area is strictly controlled, with a recommended range of 40% to 60%. Too much humidity can affect the bonding strength, while too little can cause the membrane to become brittle.
3. Cutting: Precision for a Perfect Fit
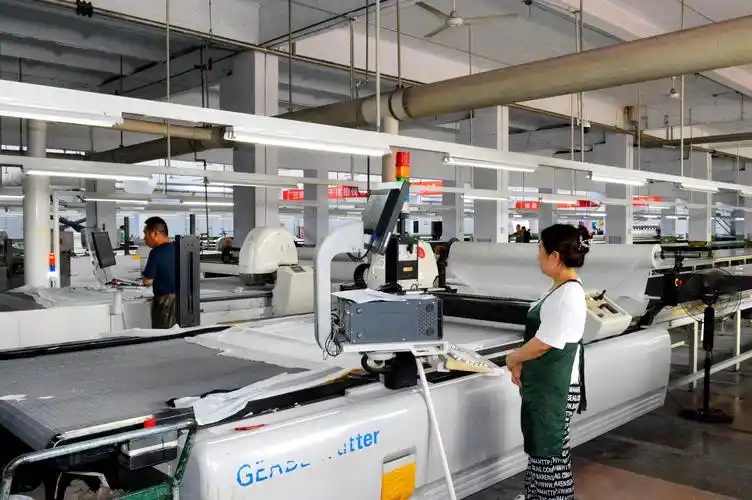
Once the laminated fabric is ready, it is cut into the various pieces that will form the jacket. Precision cutting is essential to ensure that the pieces fit together properly during assembly, which in turn affects the overall performance and appearance of the jacket.
Computer-controlled cutting machines are commonly used in modern factories, as they can achieve high levels of accuracy. The cutting process must take into account the grain of the fabric to ensure that the jacket hangs correctly and that the waterproof membrane functions as intended.
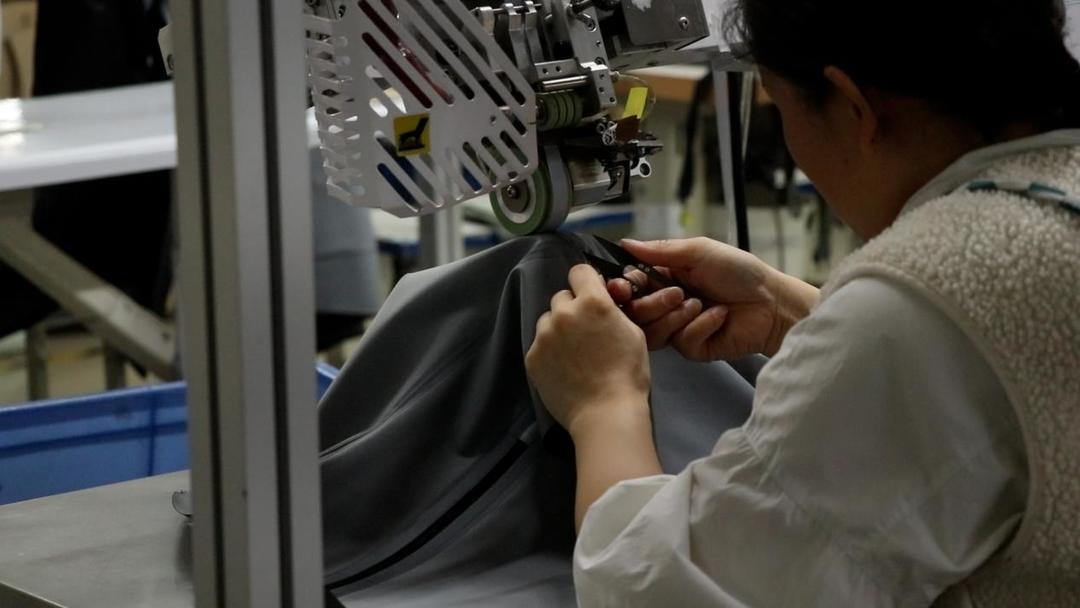
4. Assembly: Sewing It All Together
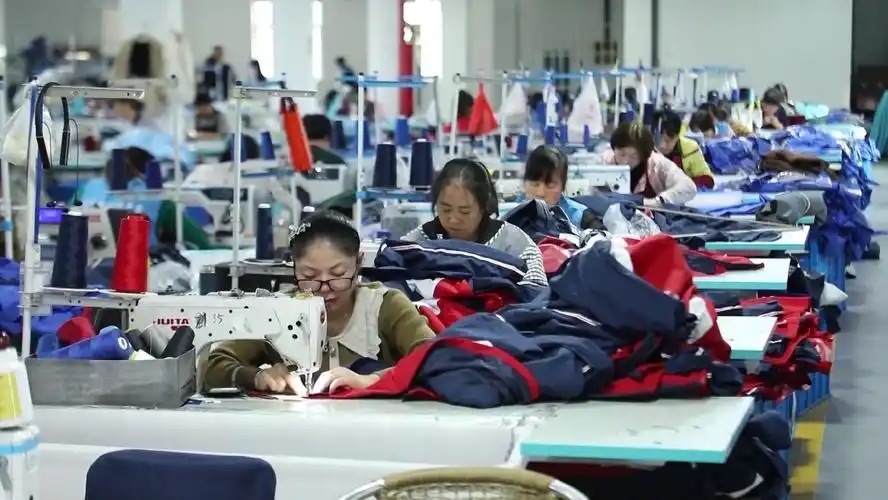
The cut pieces are then assembled into the jacket. This involves sewing the pieces together, taking care to avoid damaging the waterproof membrane or the seam tape. Special sewing techniques and needles are used to minimize the risk of water penetration through the stitch holes.
During assembly, it is important to ensure that the seams are aligned correctly and that the tension is even to prevent puckering or stretching, which could compromise the waterproofing.
5. Seam Taping: Ensuring Complete Waterproofness
Seams are potential weak points for water penetration, so seam taping is essential to seal them. The choice of tape width, such as 13mm vs 10mm, can affect the sealing effect.
A 13mm tape provides a wider coverage area, which is beneficial for seams that are subject to more stress or where a higher level of waterproofing is required. It offers a greater margin for error during application and ensures that the entire seam is fully covered. On the other hand, a 10mm tape is more suitable for areas where weight and flexibility are important, as it is lighter and less bulky.
In the factory, the seam taping process is carried out using specialized machines. The taped seam machine pressure setting is a critical parameter, typically ranging from 2 to 4 bar. The pressure must be sufficient to ensure that the tape adheres firmly to the fabric and seam, but not so high that it damages the fabric or the tape itself.
The factory image demonstrates the seam taping process, with the machine applying the tape to the seams with precision. The tape is heated to activate the adhesive, and the pressure from the machine ensures a secure bond.
6. Quality Inspection: Testing for Waterproof Performance
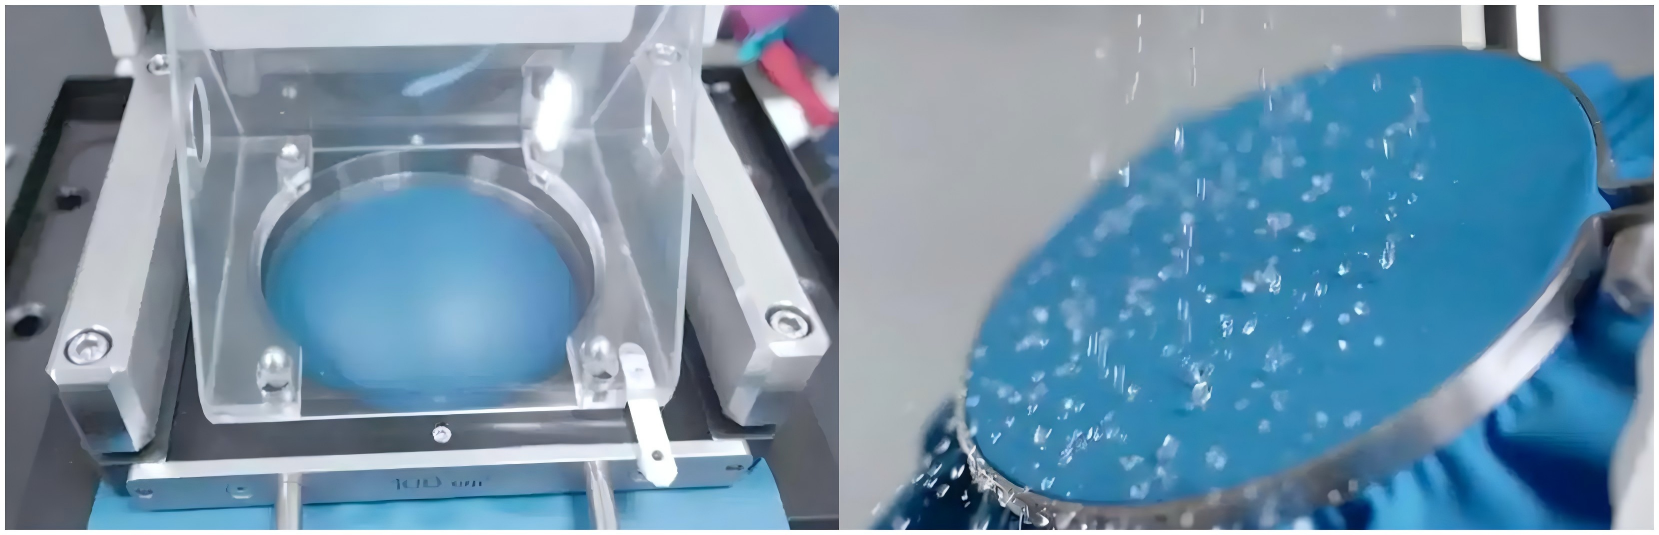
Quality inspection is a crucial step to ensure that the jacket meets the required waterproof standards. One of the key tests is the water pressure test,which measures the jacket's resistance to water pressure.
The 3 key standards for the water pressure test are:
- Minimum water pressure resistance: The jacket should be able to withstand a minimum water pressure of 10,000mm, which means it can resist water from heavy rain and even brief submersion.
- Duration of pressure resistance: The jacket must maintain its waterproofness under the minimum pressure for at least 10 minutes without any water penetration.
- Uniformity of pressure resistance: The waterproof performance should be consistent across the entire jacket, with no weak spots.
The factory image shows the water pressure test equipment, where the jacket is subjected to water pressure to evaluate its performance. Any jacket that fails the test is rejected or sent back for rework.
7. Finishing: Adding the Final Touches
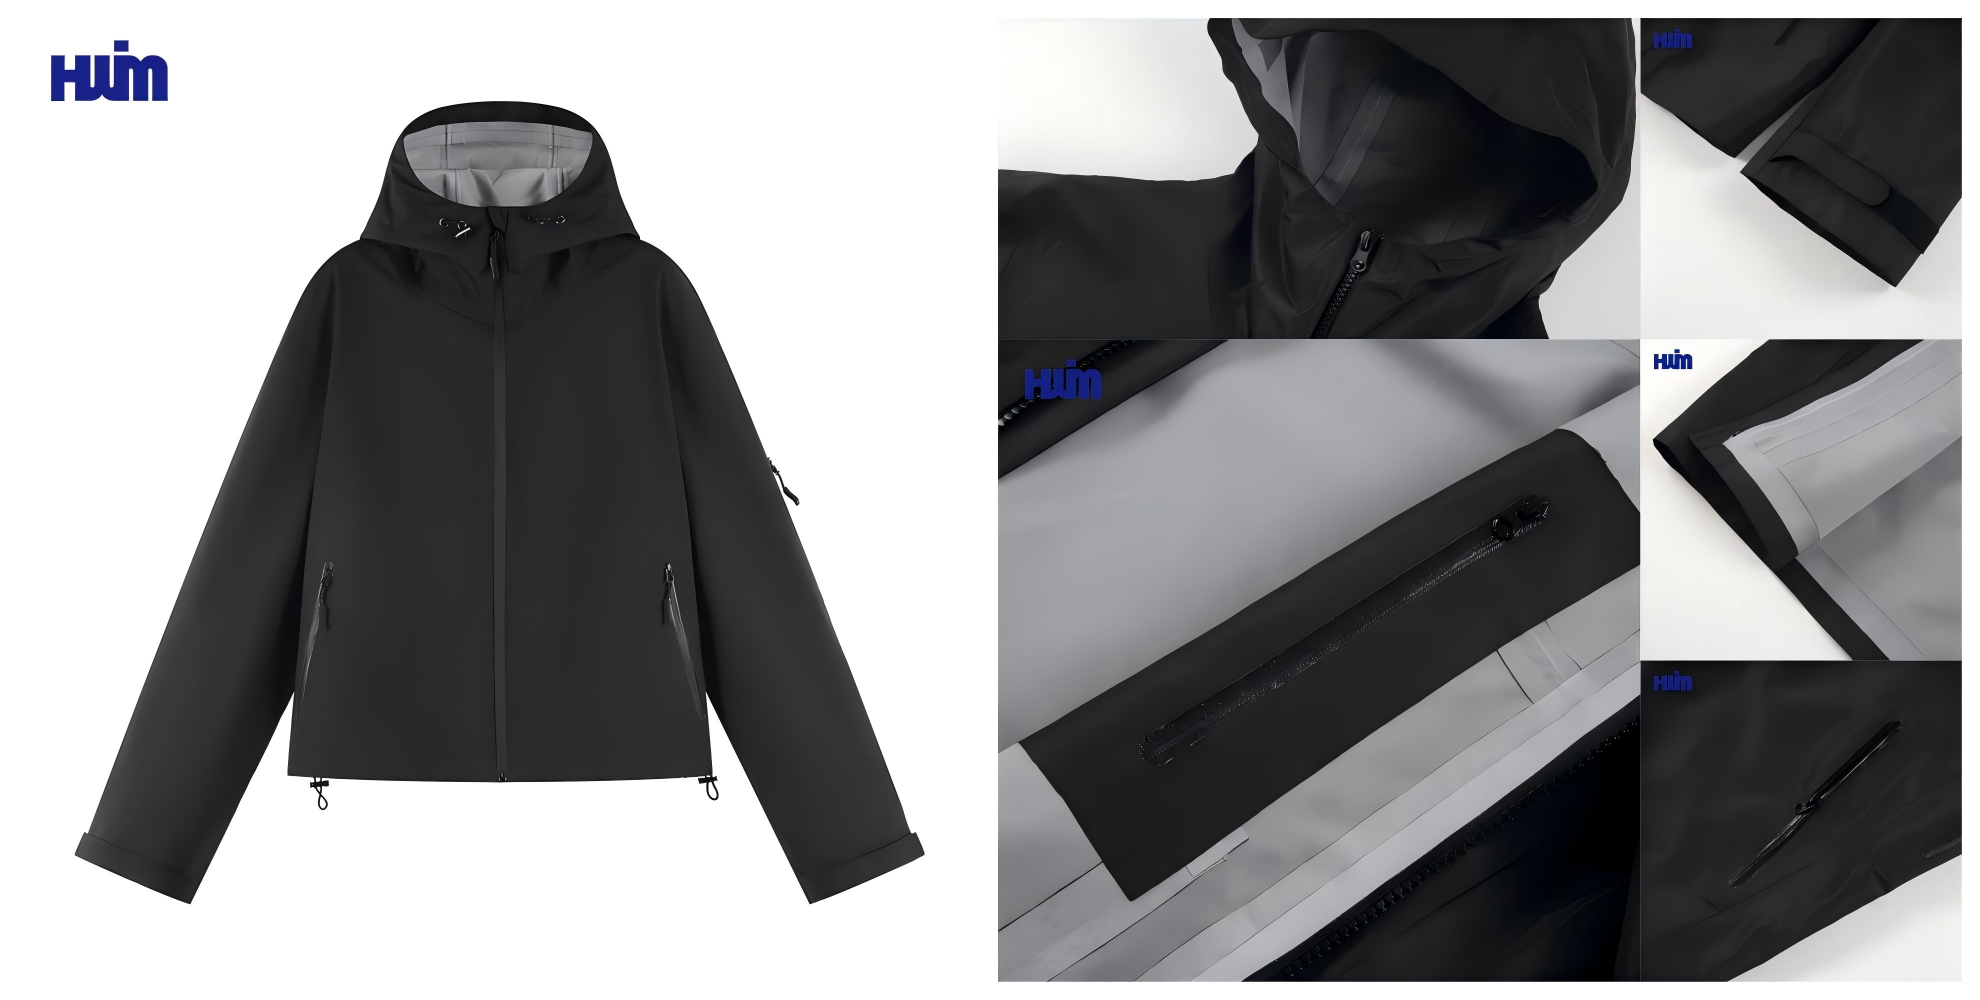
The final step in the manufacturing process is finishing, which includes adding zippers, buttons, pockets, and other accessories. These components must also be waterproof to maintain the jacket's overall performance.
Waterproof zippers with sealed teeth and storm flaps are used to prevent water from entering through the zipper. Pockets are often lined with waterproof fabric, and their openings are sealed to keep the contents dry.
Once all the finishing touches are complete, the jackets undergo a final inspection to ensure that they meet all quality standards before being packaged and shipped.
In conclusion, the production of a hard shell jacket involves a series of complex and precise processes, each of which plays a crucial role in achieving its exceptional waterproof and windproof performance. From the high-density weaving of the fabric to the final quality inspection, every step is carefully controlled to ensure that the end product meets the highest standards. The factory production process image and process parameter table provide a glimpse into the meticulous work that goes into creating these essential outdoor garments.
If you're seeking a partner that adheres to such rigorous standards in crafting
hard shell jackets,
our company would be honored to be your consideration. With years of experience in the industry, we strictly implement each of these core processes, ensuring that every jacket leaving our factory is a testament to quality and reliability. Whether you have specific requirements for materials, designs, or performance, we're dedicated to delivering products that exceed your expectations. Feel free to reach out to learn more about how we can collaborate.


